
Would you like to take your Iaito (a metal practice sword) or your wooden practice weapons with you on a trip, perhaps even by plane? Then you may be wondering how you can ensure that everything arrives safely at your destination. Sometimes you have these images in your head of luggage tumbling off the conveyor belt or being thrown around wildly.
In the summer of 2025, Kuroki Sensei’s seminar in Bilbao was coming up again. I don’t usually take my Iaito with me on plane trips, but since I also wanted to take an Iaido exam in Bilbao, this time was different. So I needed a safe way to transport the sword. Since the result is impressive, here are instructions for building a …
Iaito travel case
The requirements were quickly determined: stable, inexpensive, easy to open, lockable, lightweight, easy to carry, suitable for air transport. And the Iaito with its leather bag should fit inside the case. Due to the dimensions of the Iaito, unfortunately, there is no way around the issue of sports or oversized luggage, unless you want to cut it down to suitcase size. More on that later.
Before you start, keep in mind that although this is called a guide, you can/should/must make changes at any time if, for example, you have different straps or tools. So think of it more as inspiration.
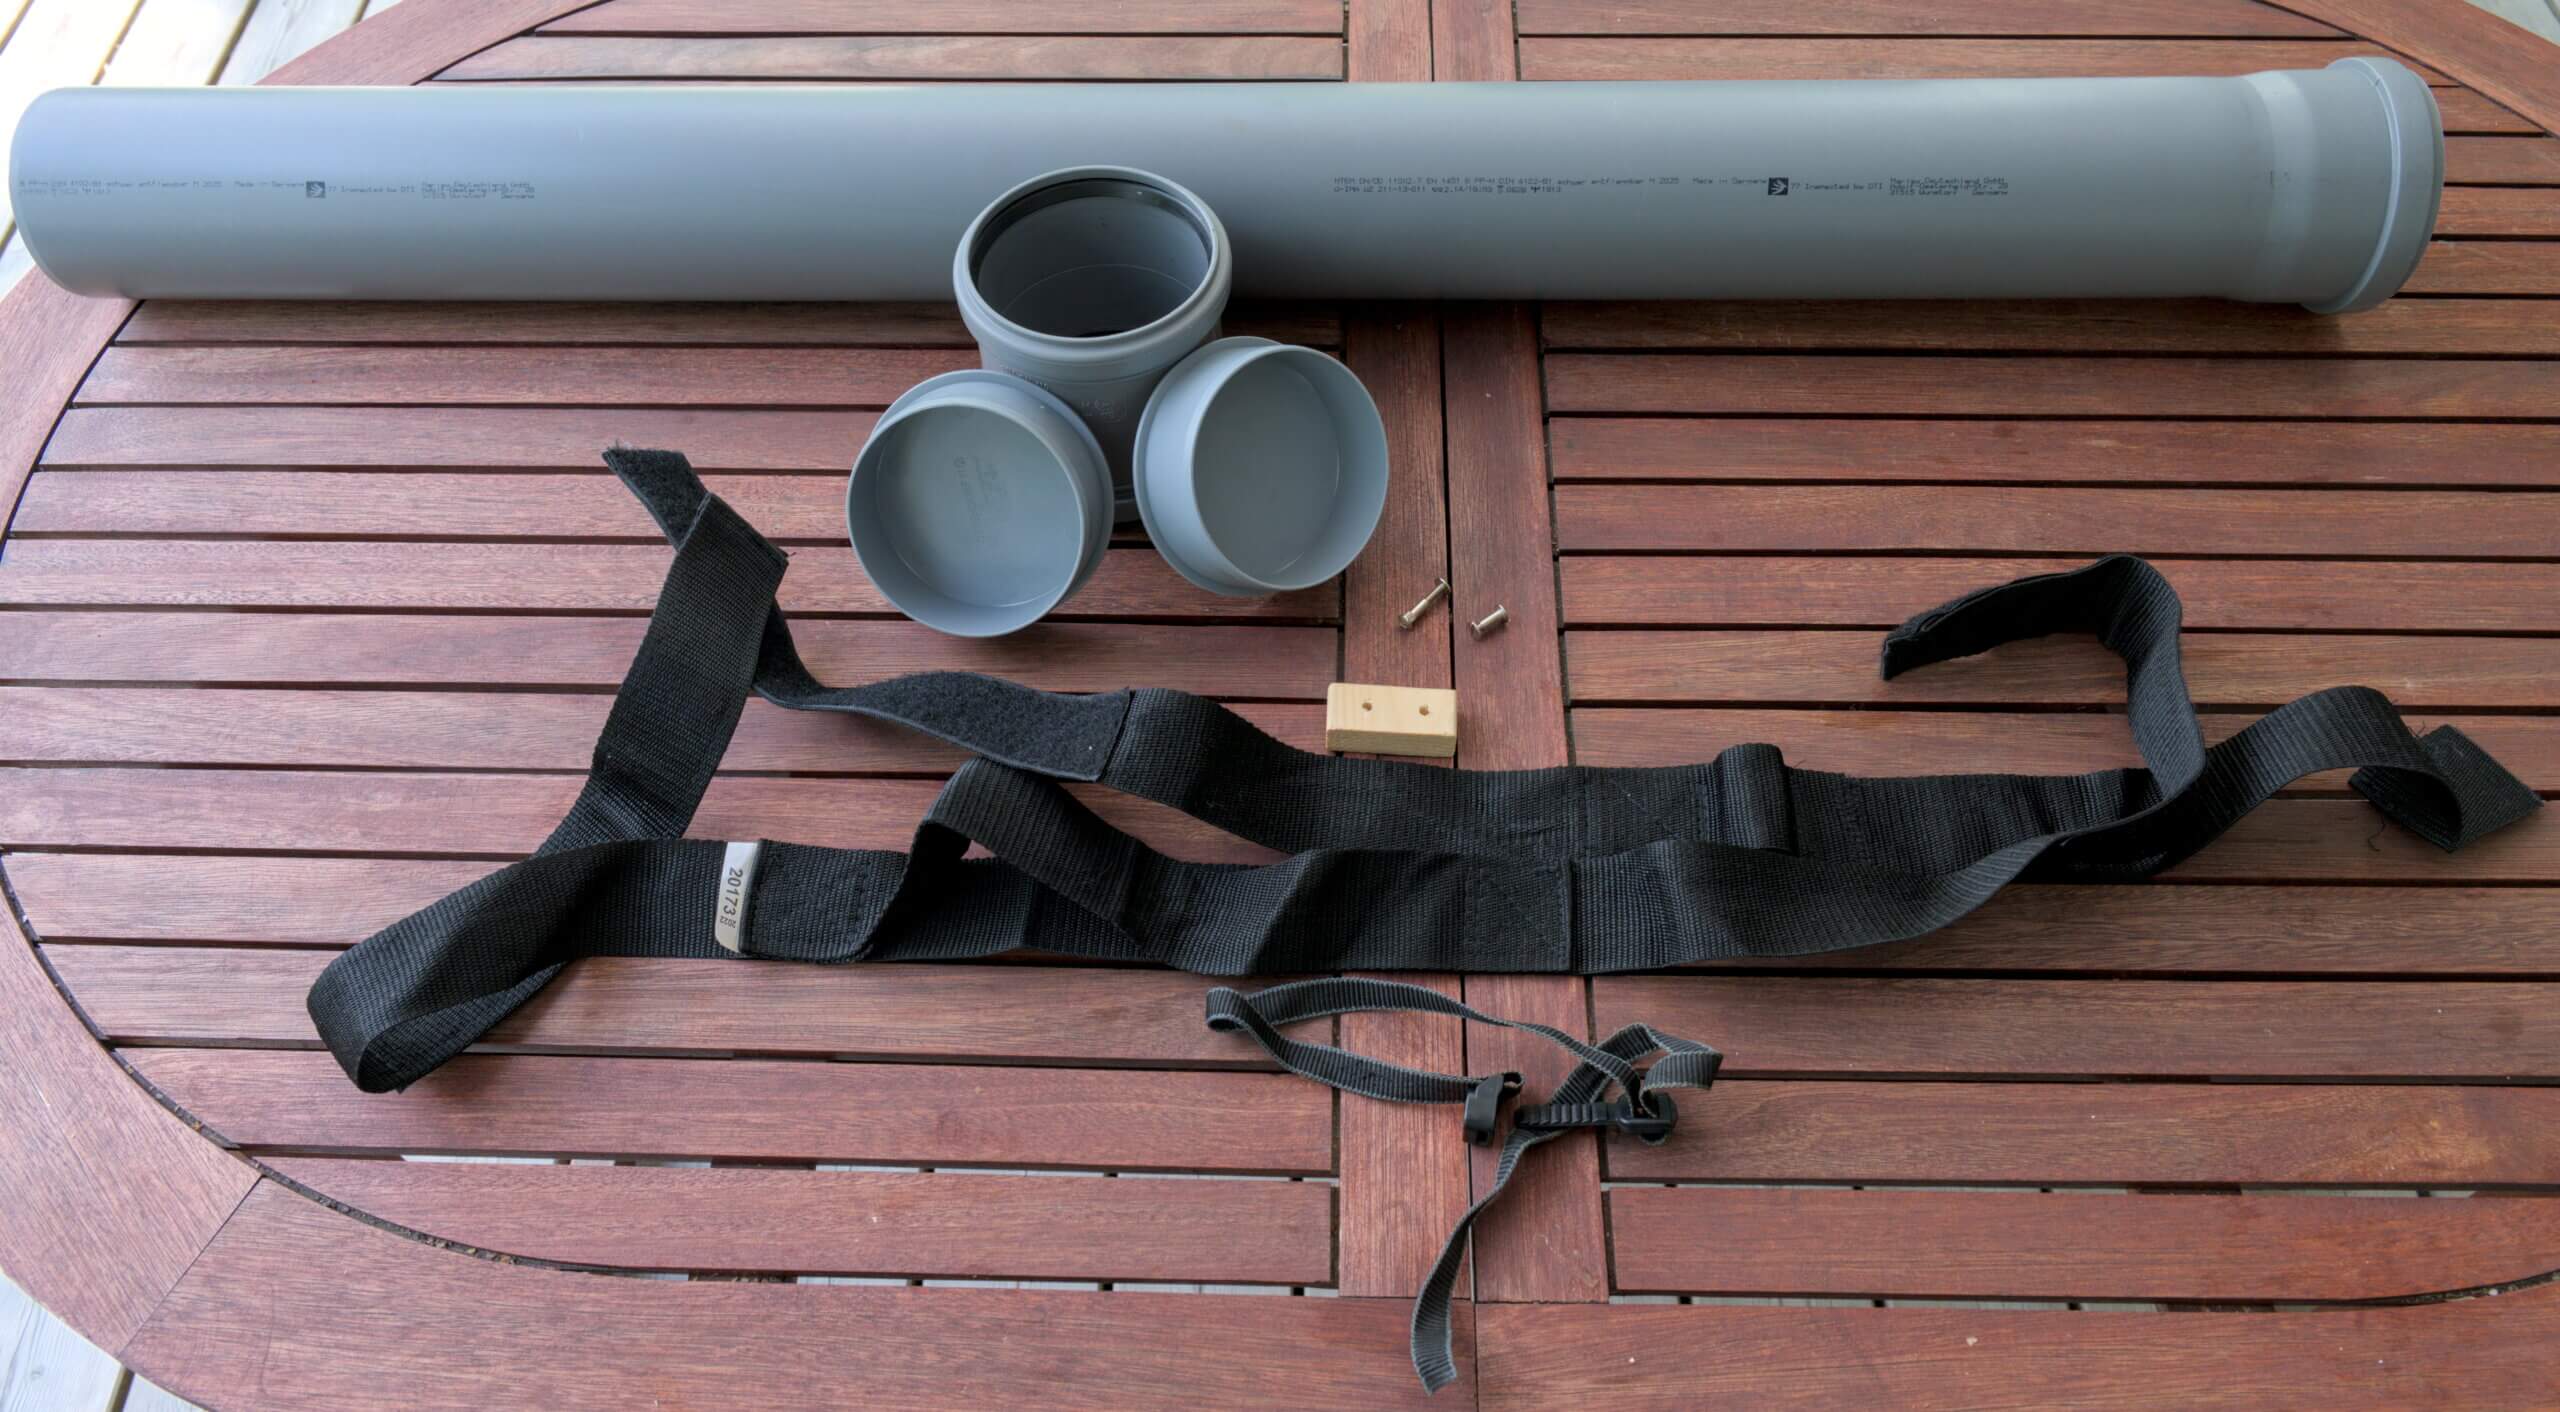
List of materials
- HT pipe, diameter 110 mm, length 2 m (will be shortened)
- One HT socket, diameter 110 mm
- Two cover caps, also 110 mm in diameter, of course
- One wide carrying strap
- Don’t be surprised: mine is from a mattress delivery and has Velcro fasteners. This allows you to adjust its length, making it very short for transport and longer for carrying over your shoulder
- One narrow strap (as a fastener)
- Stickers (for appearance)
Required tools
- Maximum one left hand (not two)
- Cordless screwdriver and (wood) drill bits
- (Metal) saw
- Blind rivet pliers and rivets, if available
- Sewing machine, if necessary
Work steps
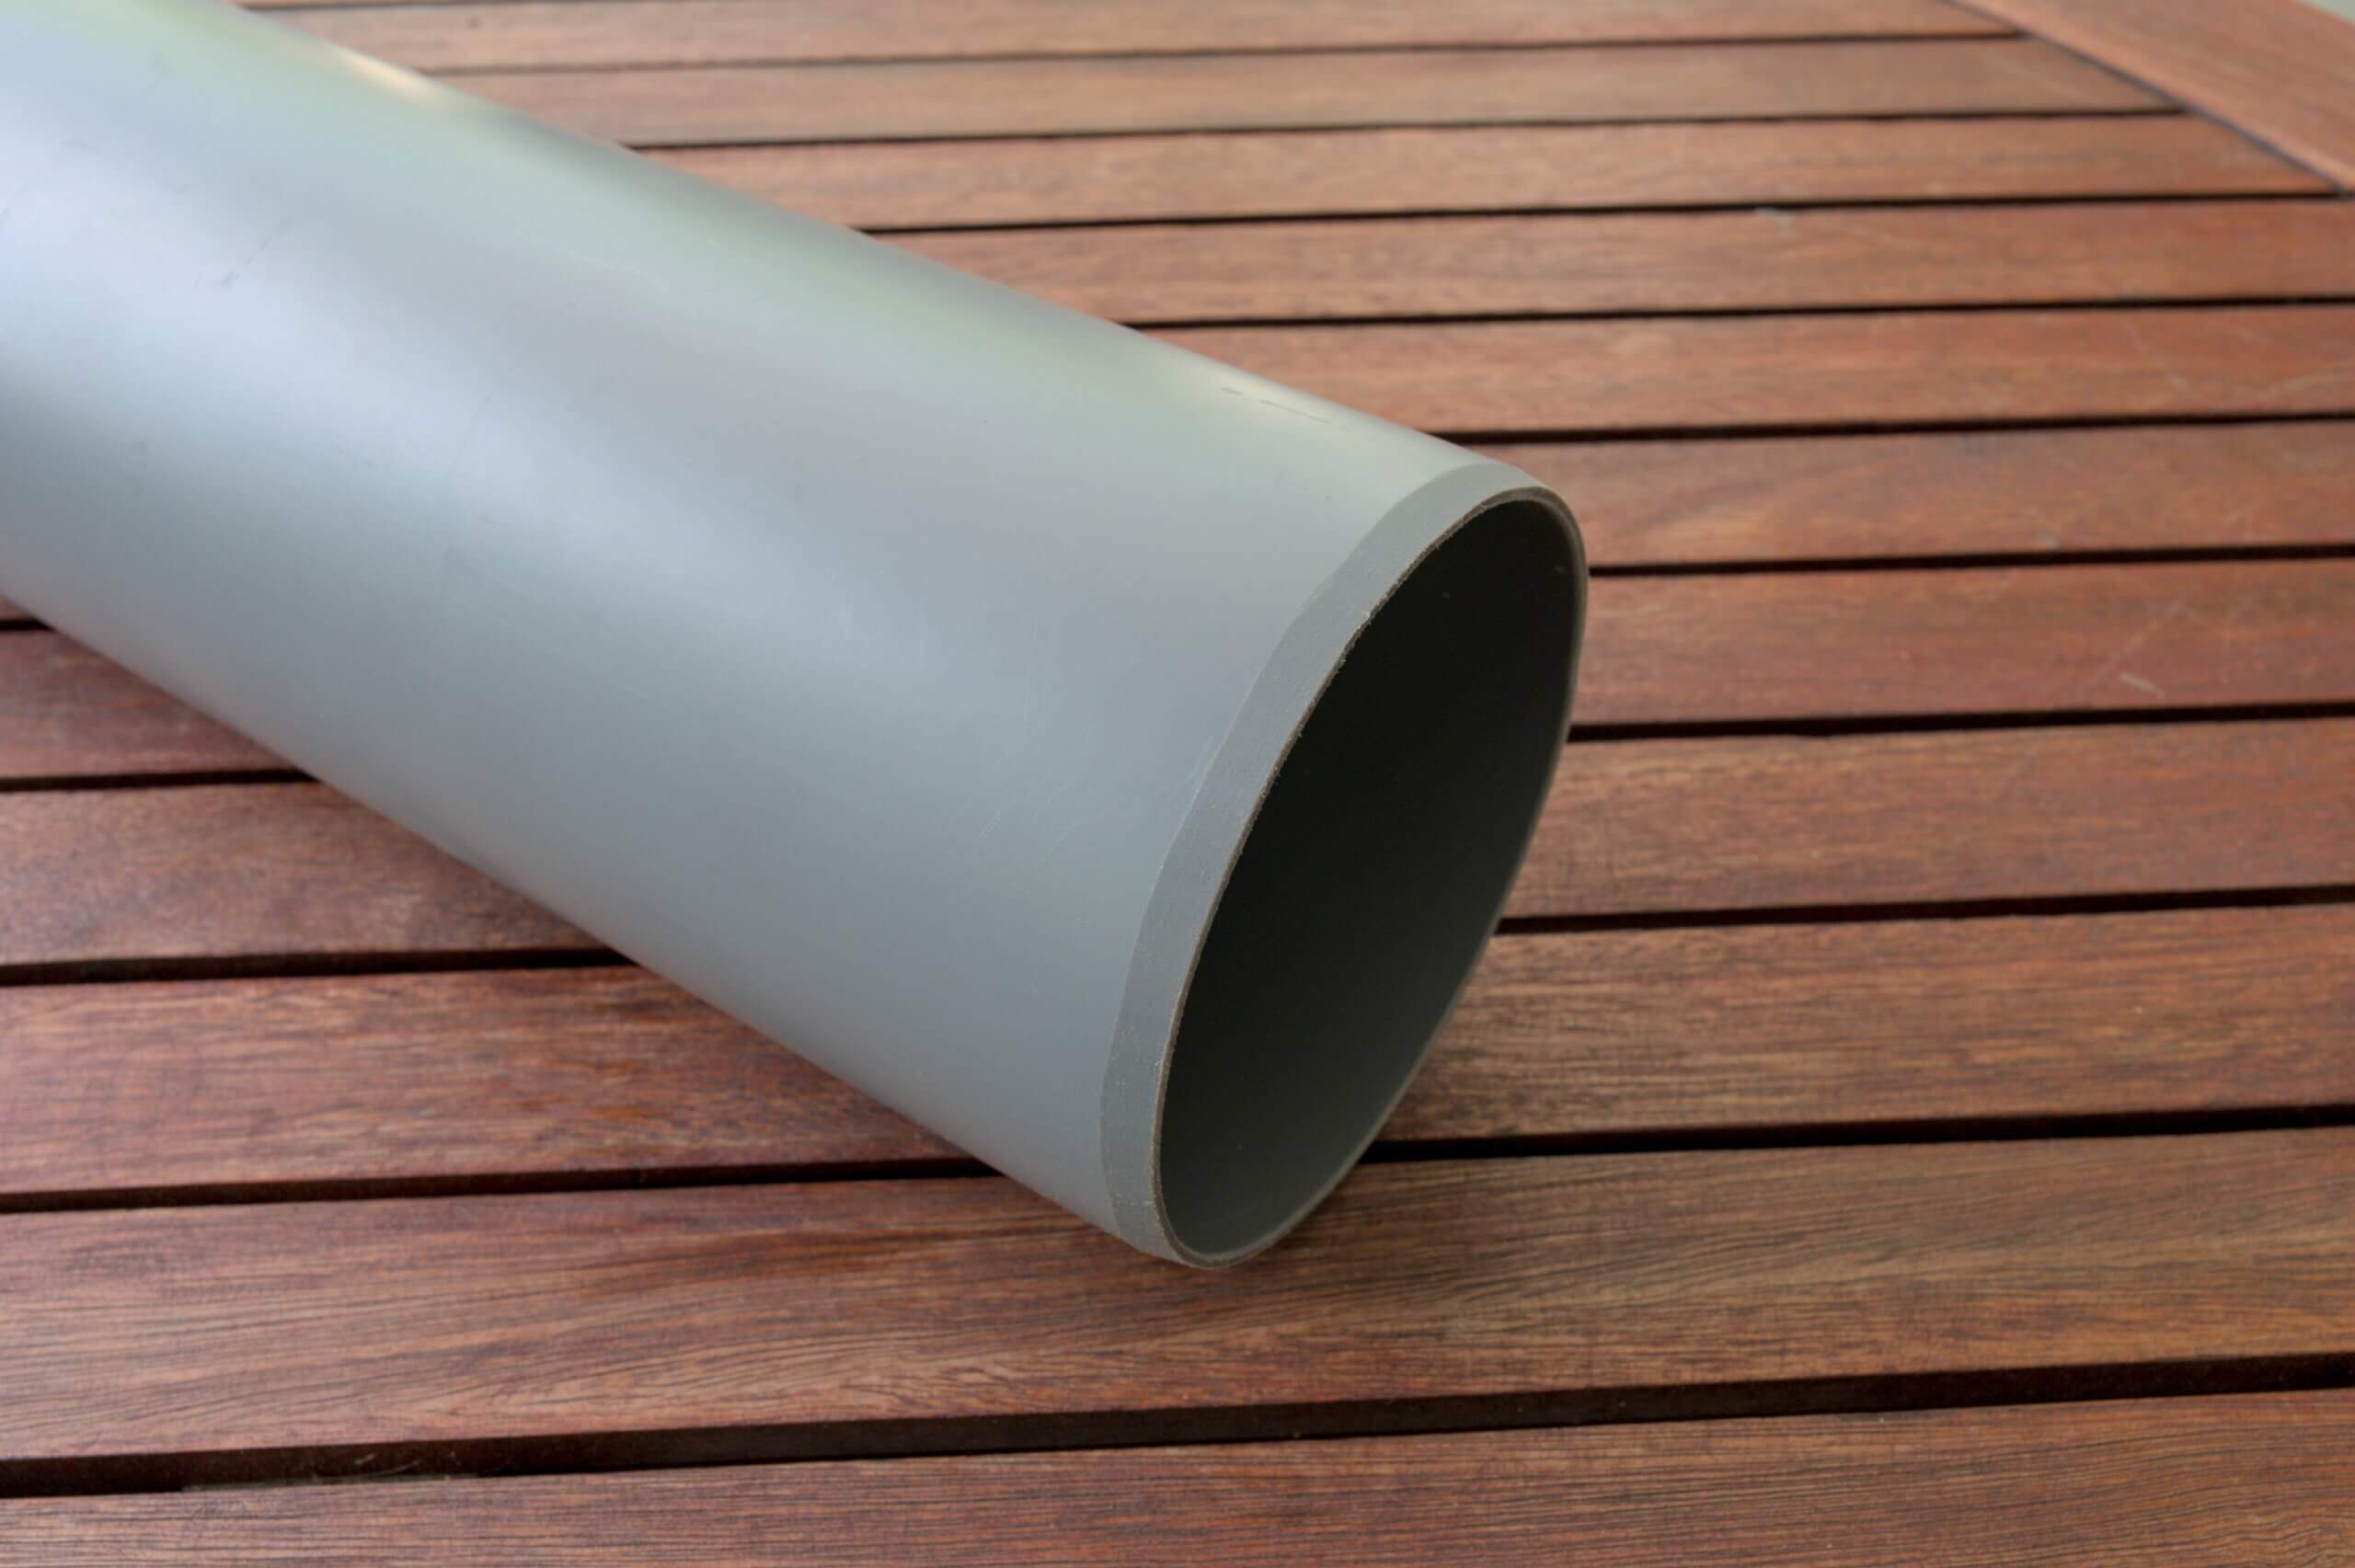
1. Prepare the HT pipe
First, you should test-fit your Iaito into the HT pipe and mark the length to which you can shorten the pipe. Keep in mind that the socket will add a few extra centimeters. Then saw off the pipe accordingly and bevel the end slightly so that the socket can be pushed on easily.
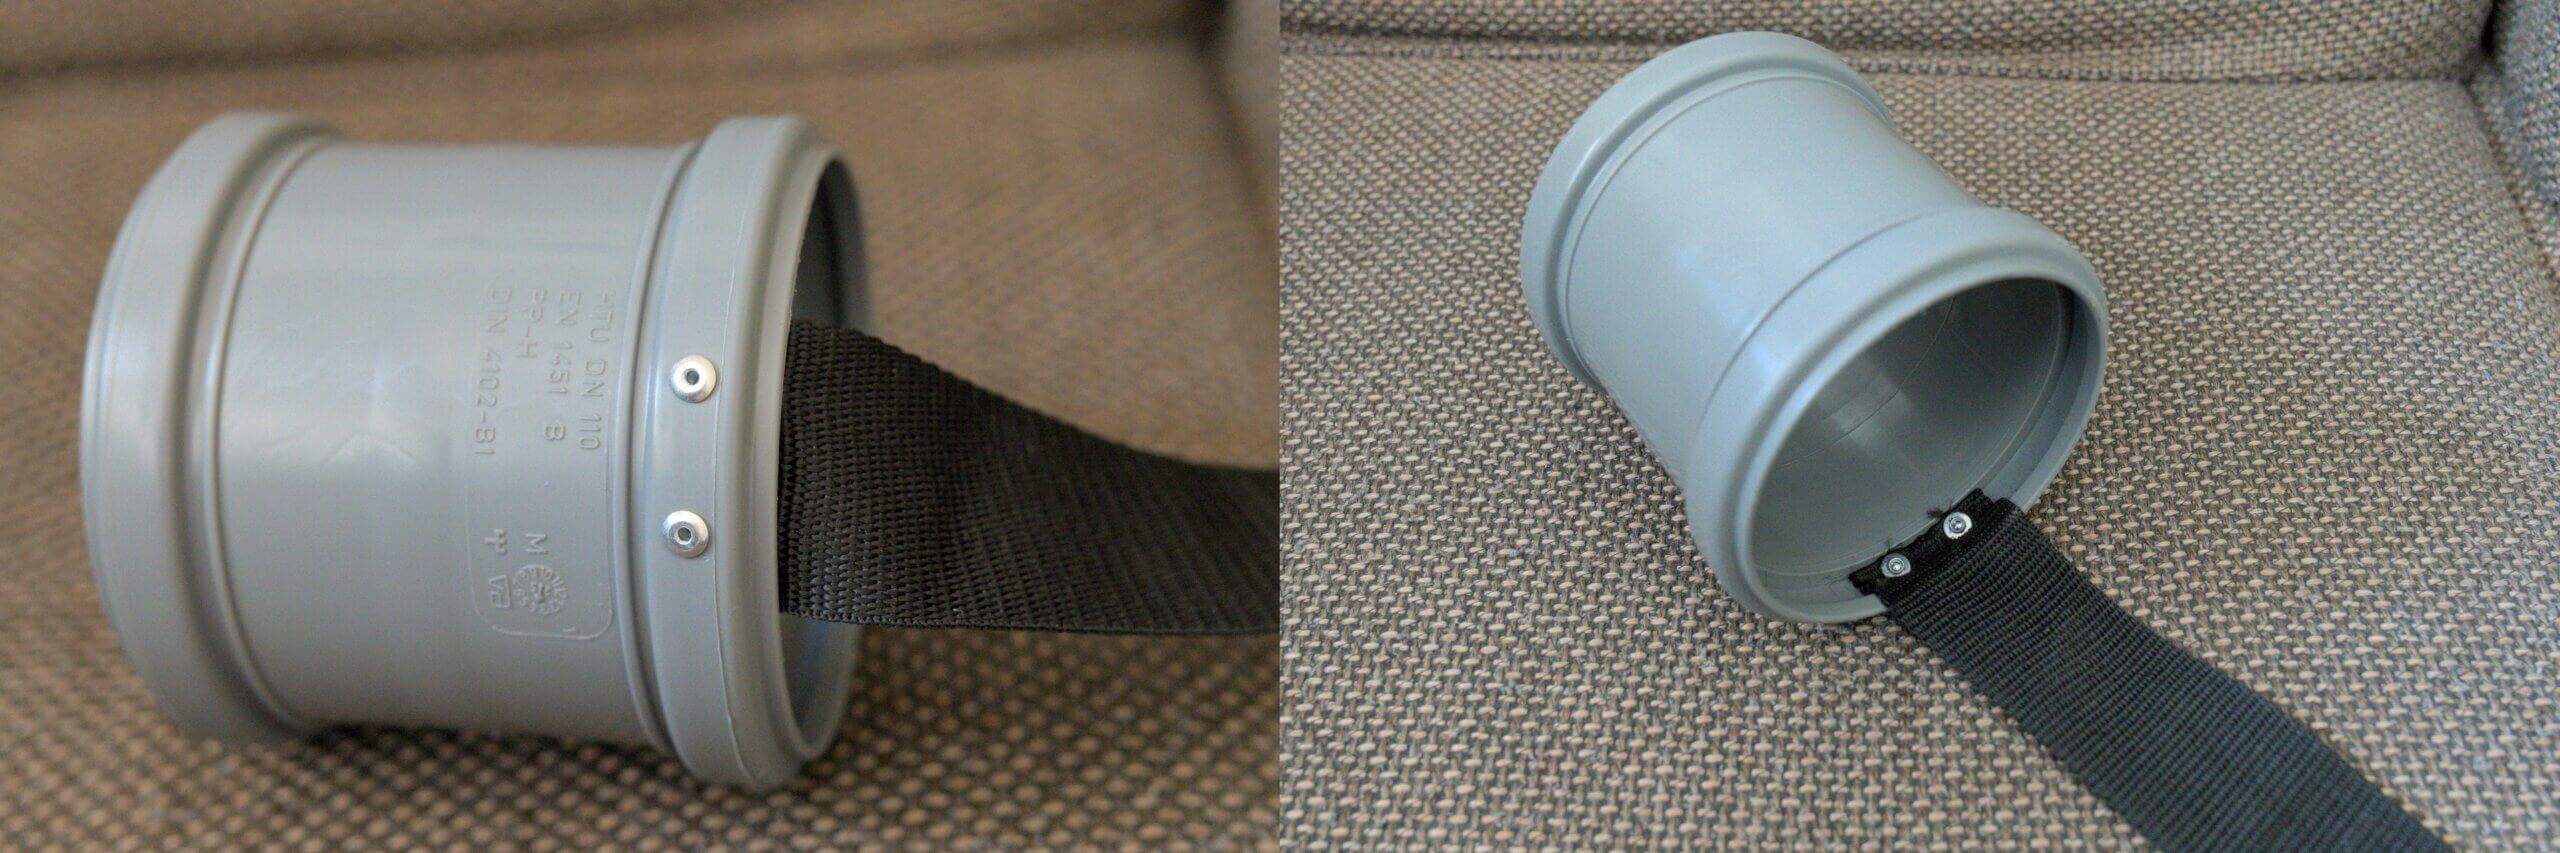
2. Prepare the socket
The socket makes it possible to seal the HT pipe at the sawn-off end. The carrying strap is also clamped into the socket and thus firmly secured. I secured the carrying strap to the socket with two pop rivets and washers, but in hindsight, I think it would be sufficient to simply clamp the strap in place when sliding on the socket.
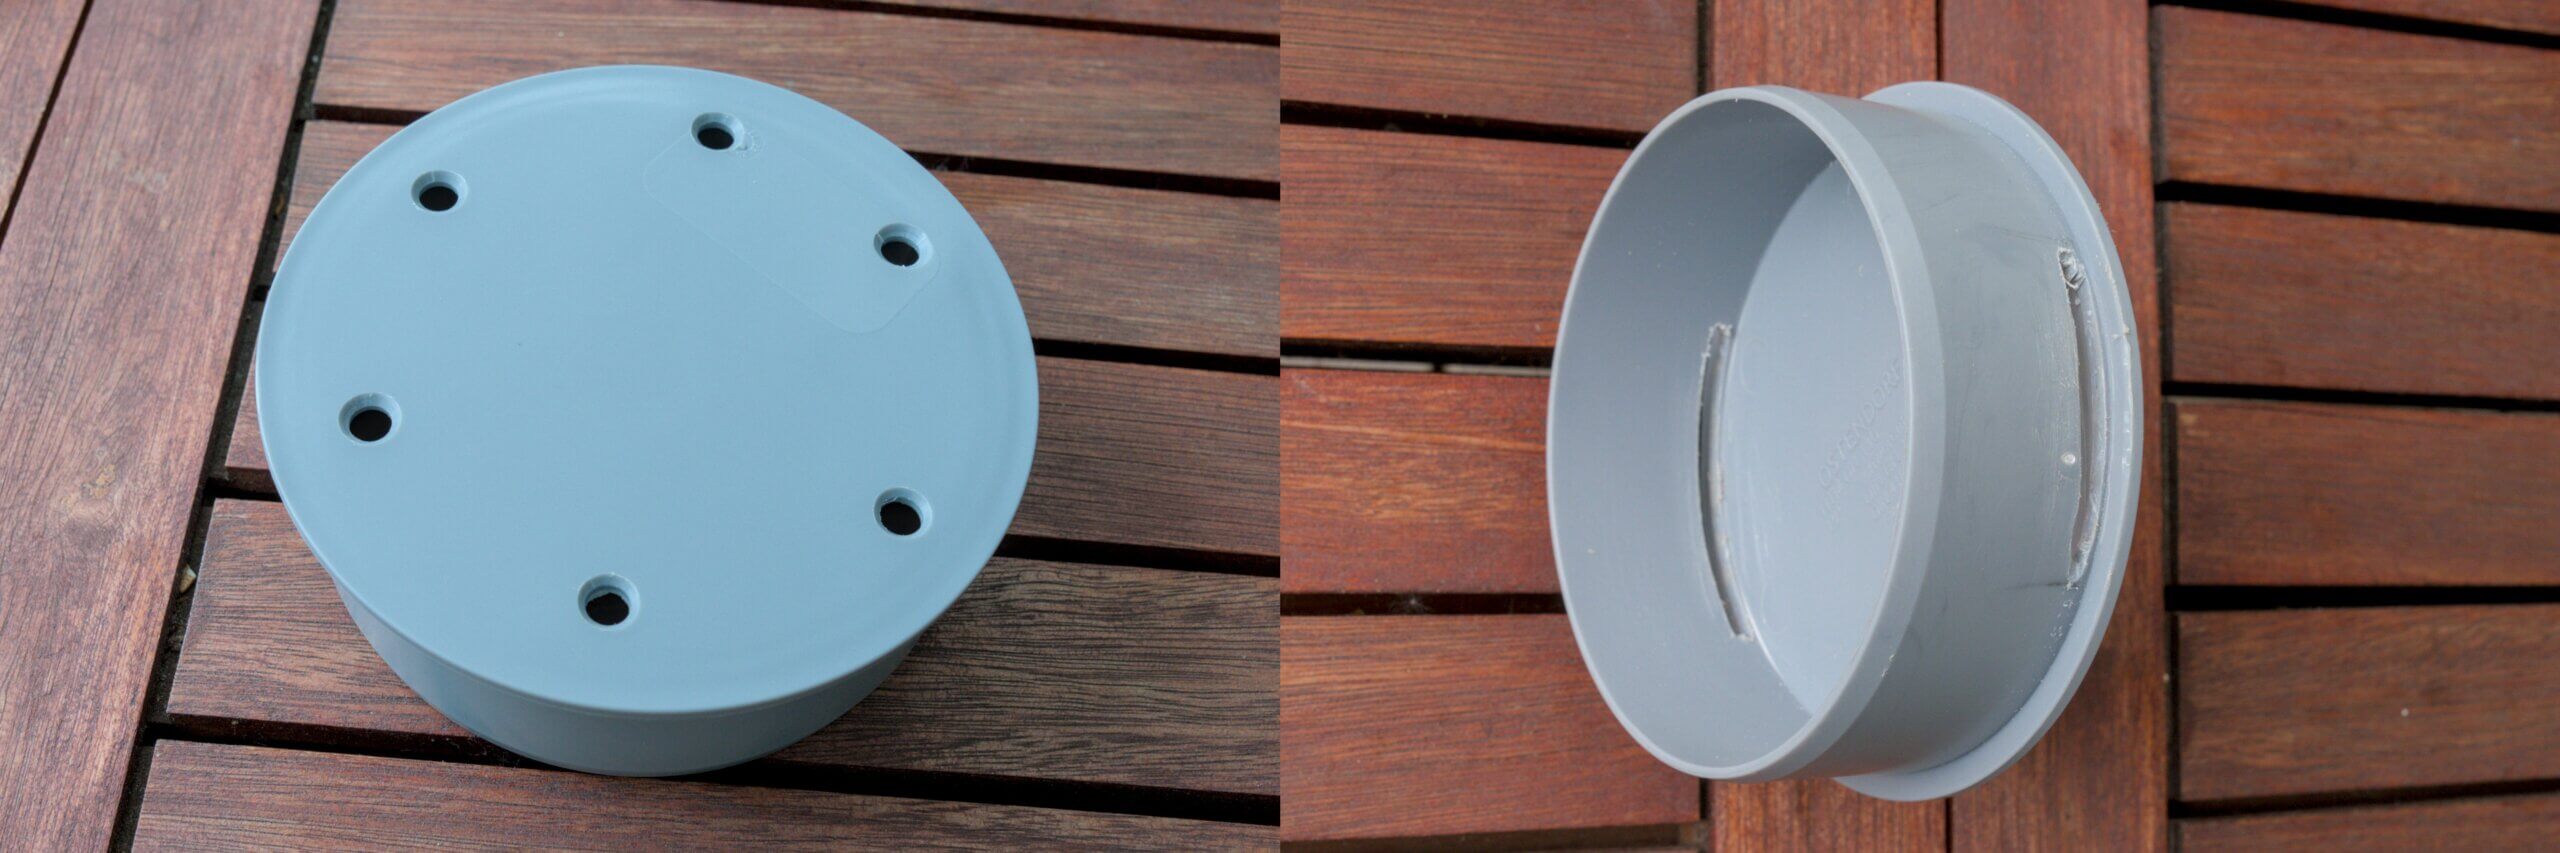
3. Prepare the cover caps
The lower cover cap, which is attached to the socket, does not actually need to be removed afterwards. I drilled a few holes in the cap. This prevents problems in the event of air pressure changes during transport in the aircraft.
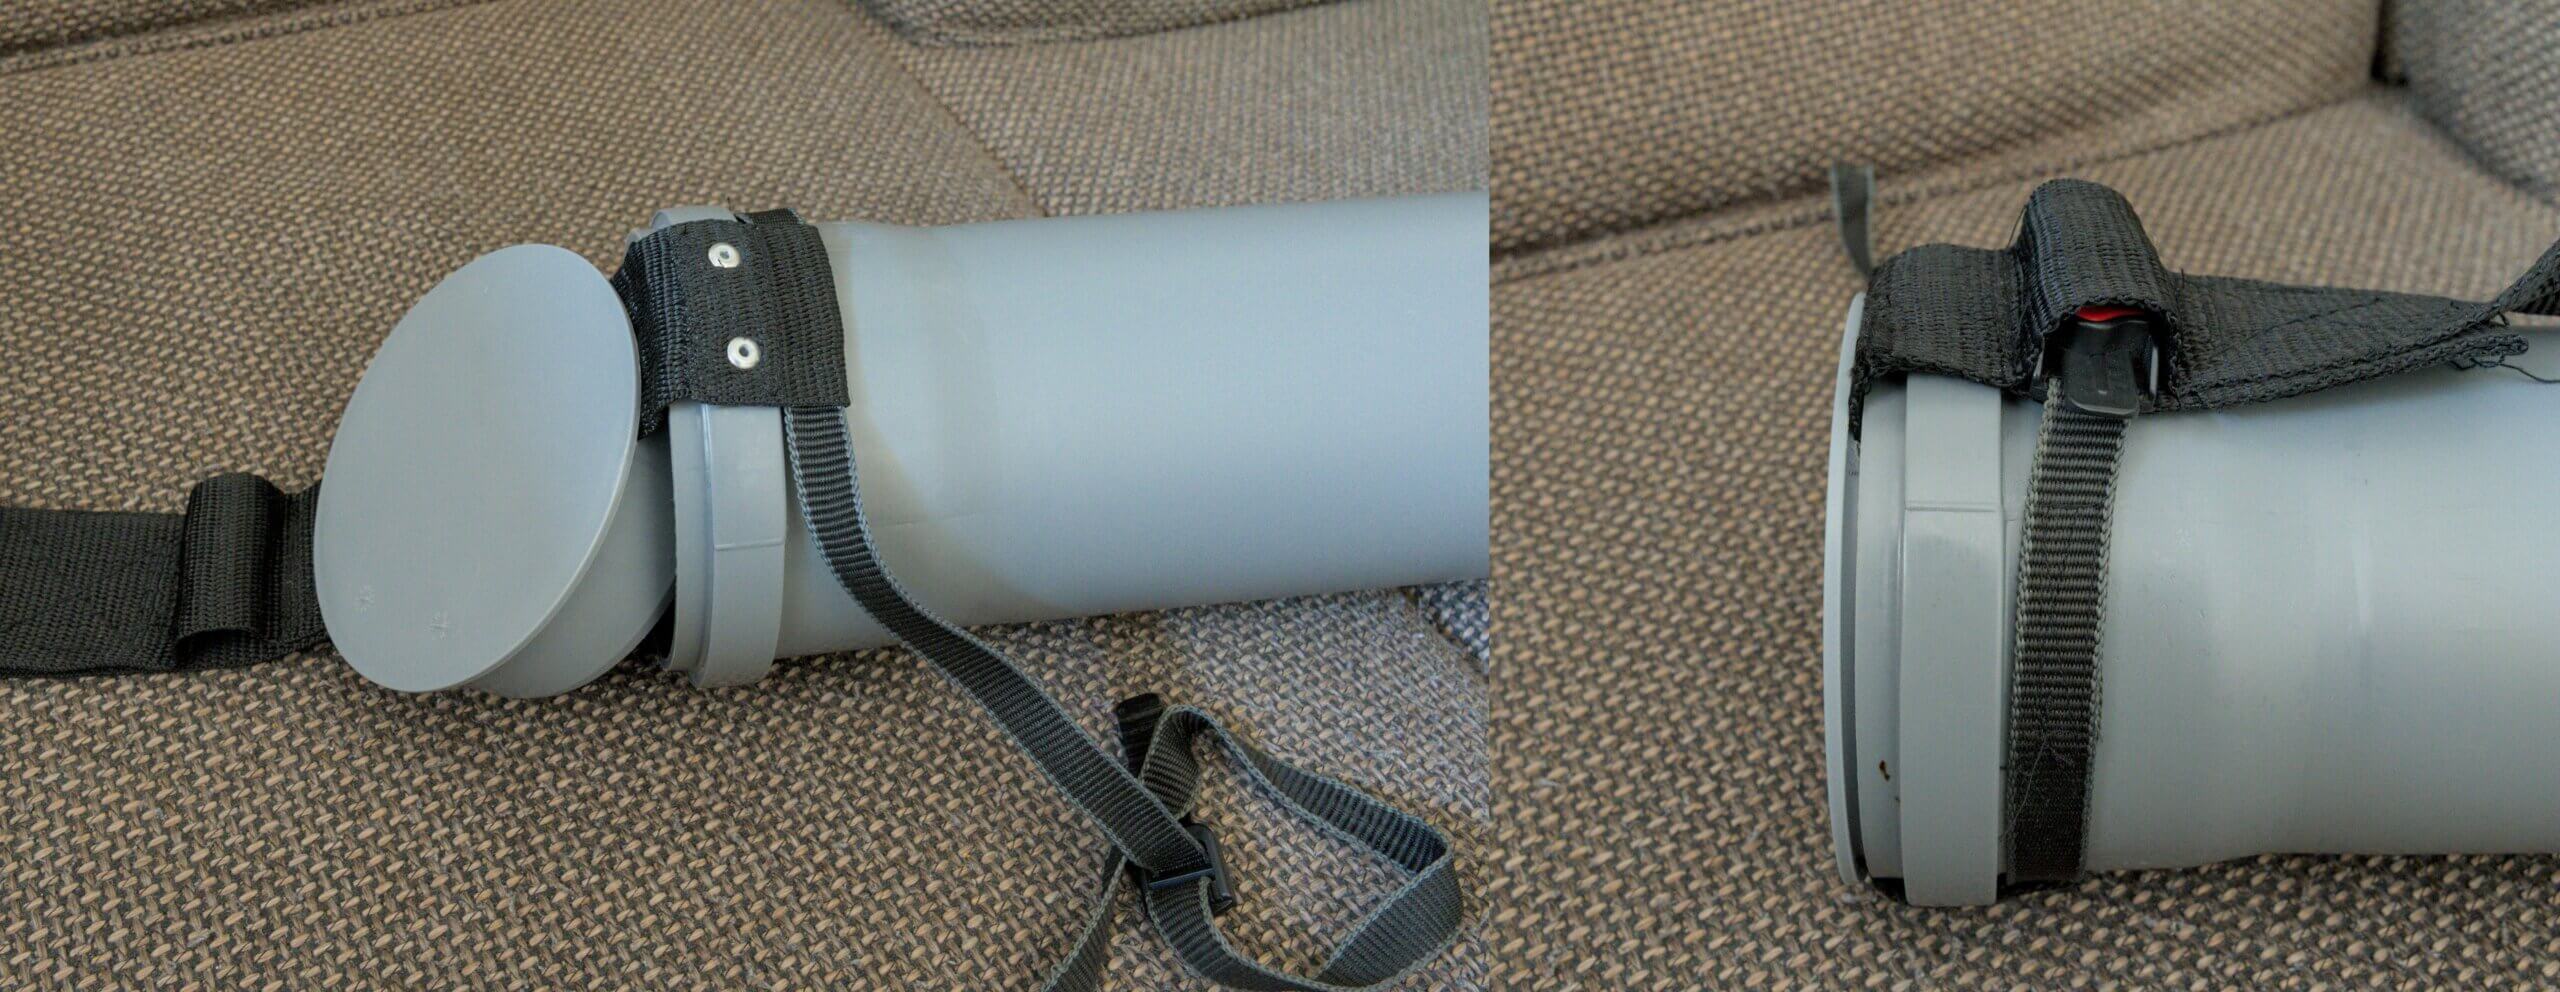
Carefully saw into both sides of the cover cap at the top so that the carrying strap can be pushed through.
4. Closure
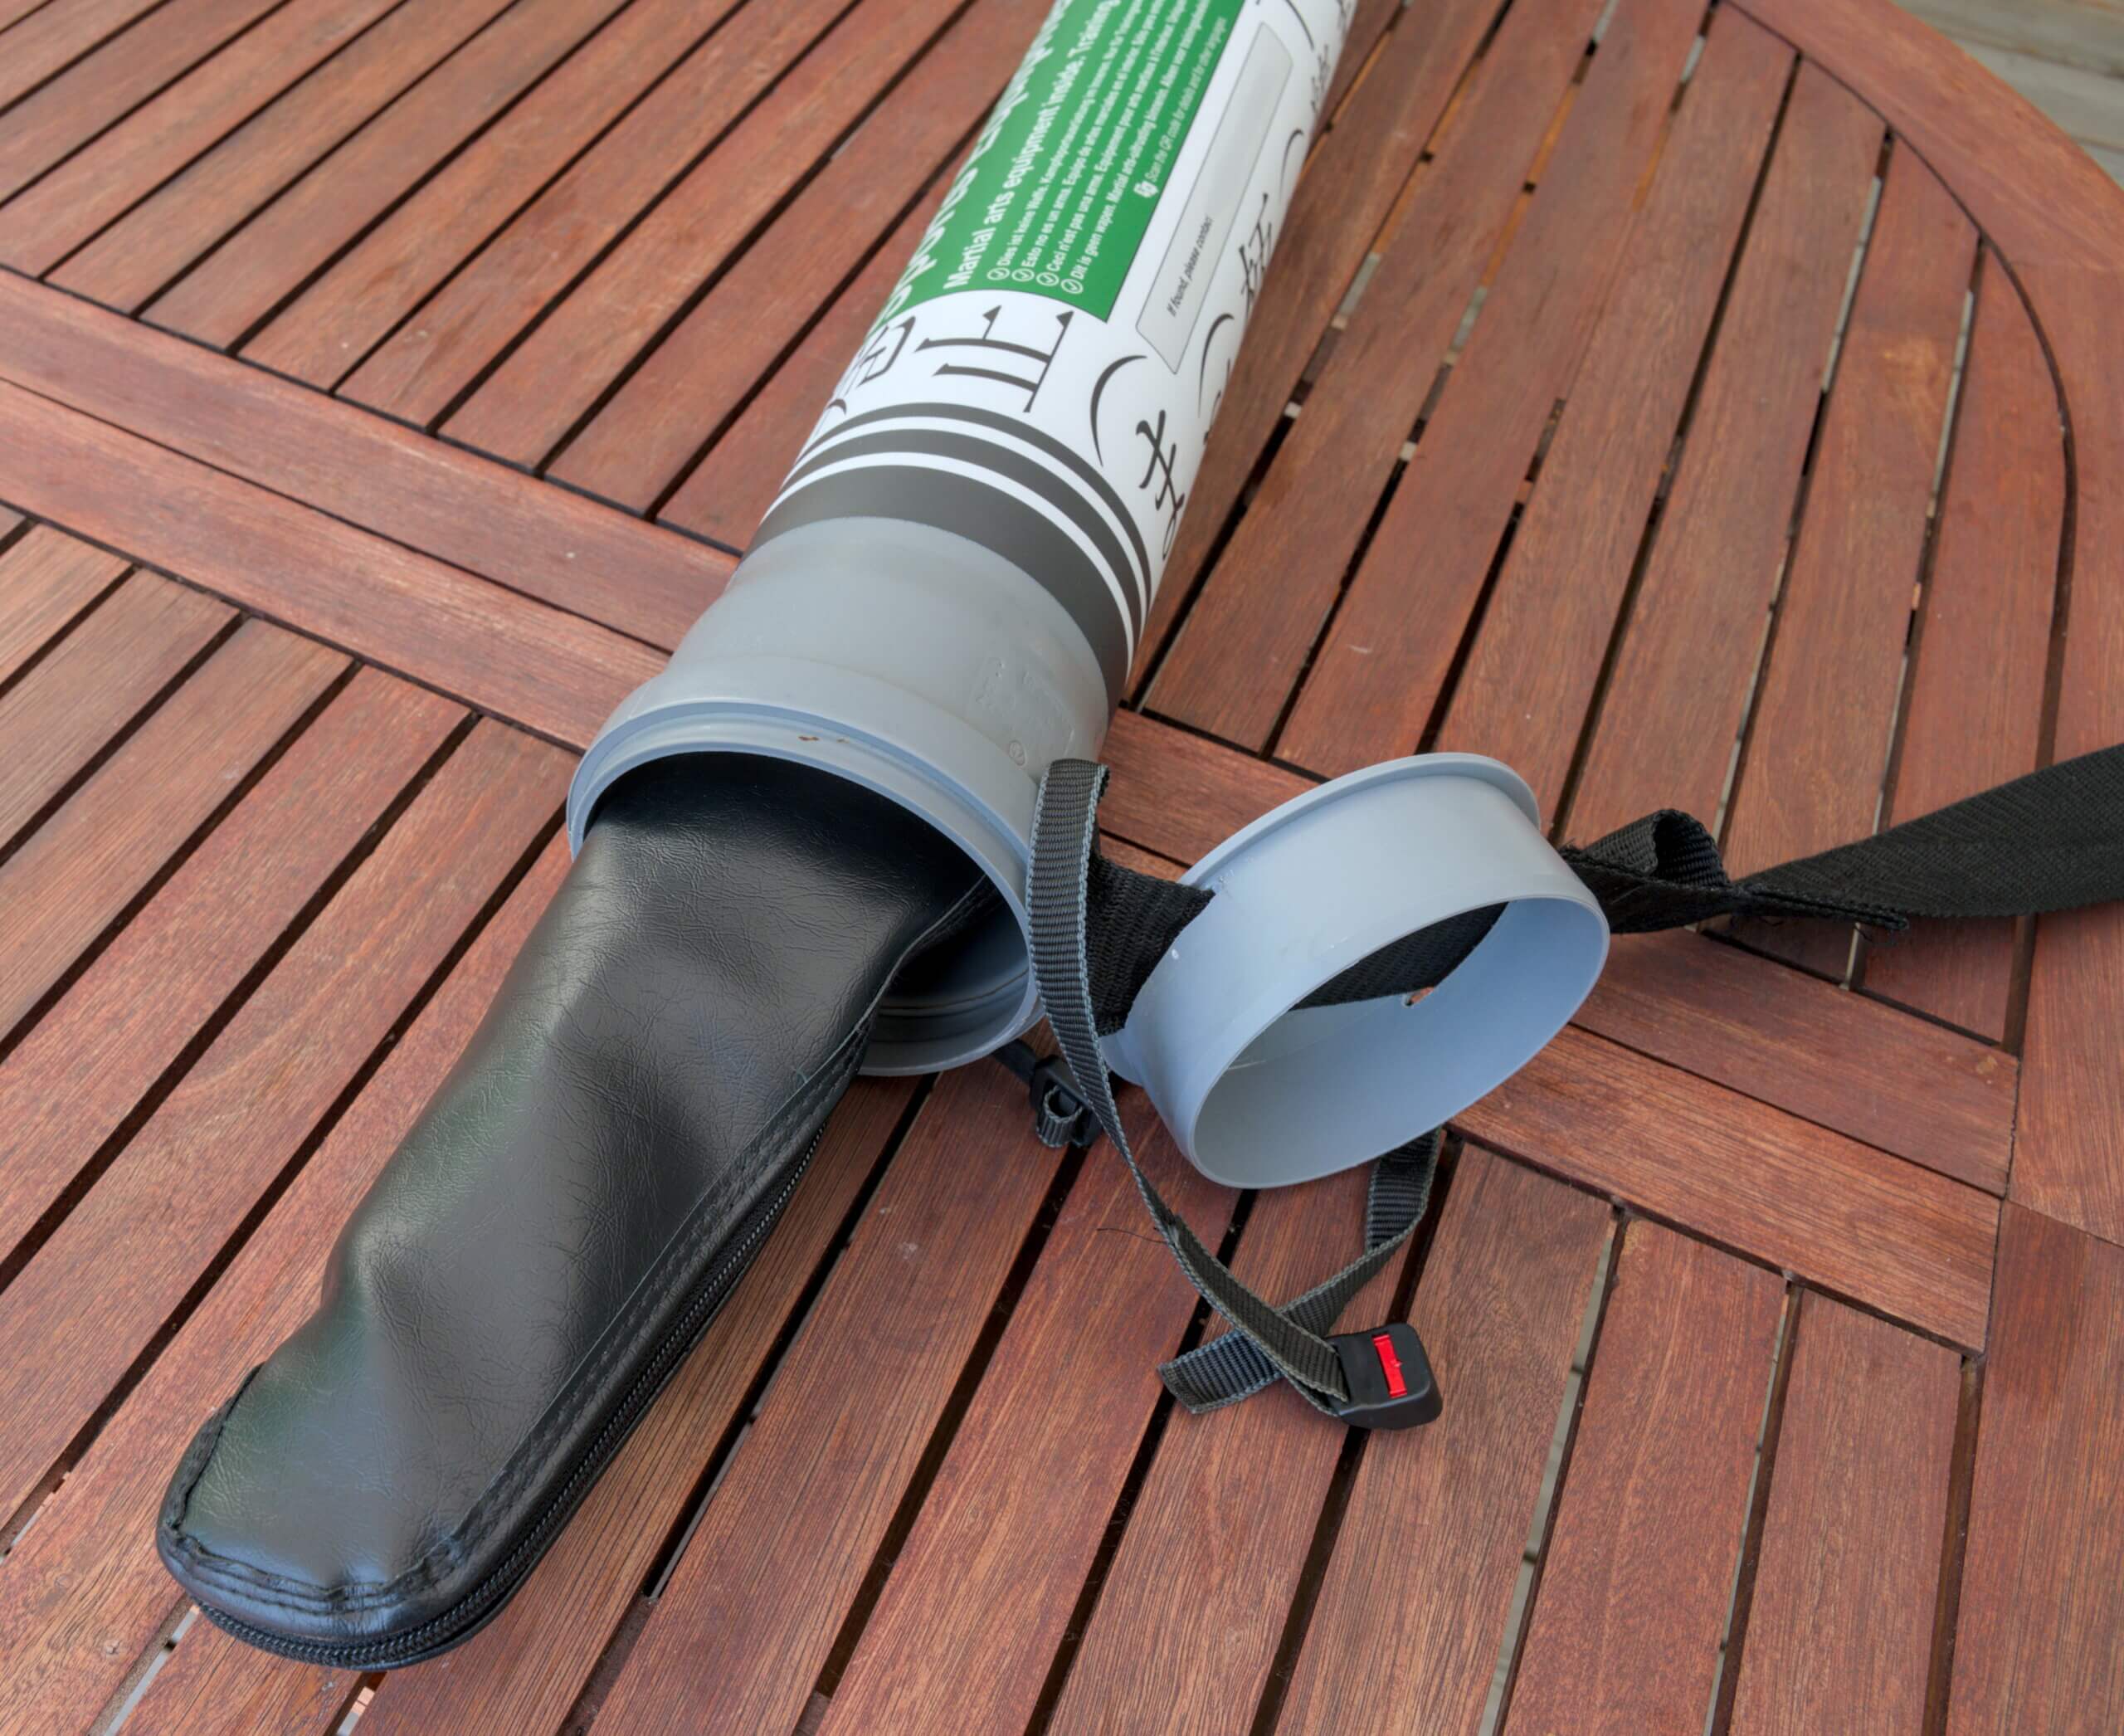
You will likely need to improvise when it comes to the closure. I had a small strap with a closure from an old bicycle helmet lying around that was perfect for this. If you leave the seal in the HT tube, you can also do without an additional closure, as it usually holds well enough. Opening and closing it then becomes a bit of a workout.
I removed the seal and sewed the carrying strap at the end so that the narrow strap could be threaded through. I then attached the carrying strap to the tube with blind rivets and threaded it through the slots in the cap. To secure the cover cap, the small strap is threaded through a loop that I sewed onto the carrying strap in the right place, and then closed and tightened.
5. Final assembly
Now slide the socket onto the other end of the tube and close it with the other cap. Depending on the thickness of the carrying strap, you may need to remove a seal from the socket, otherwise sliding it on with the strap jammed in will be an impossible feat of strength.

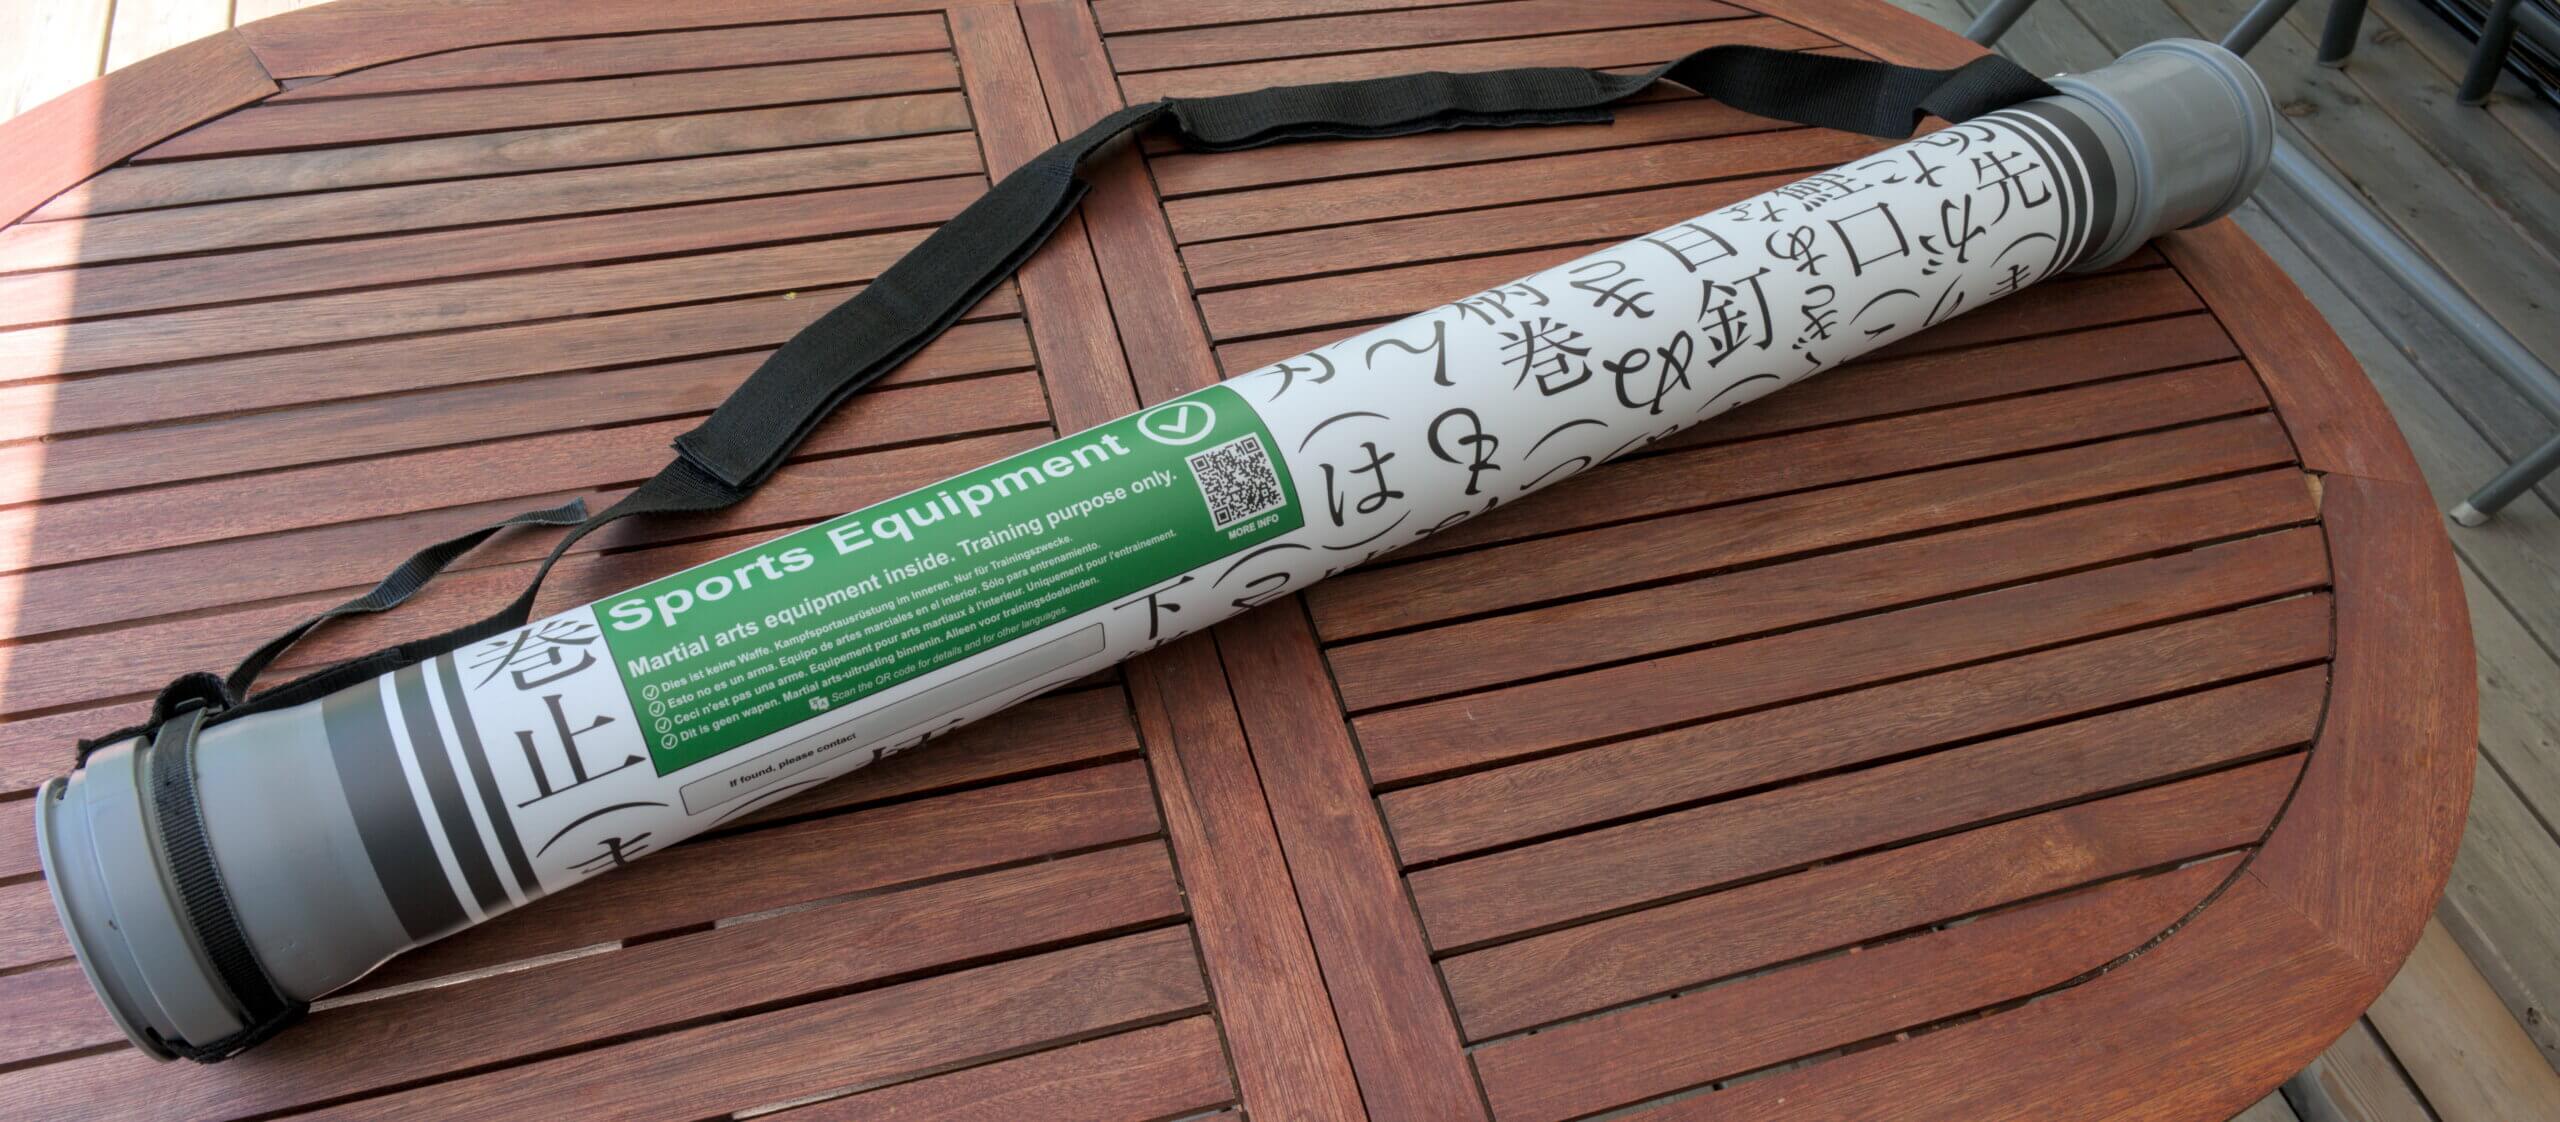
6. Optional design
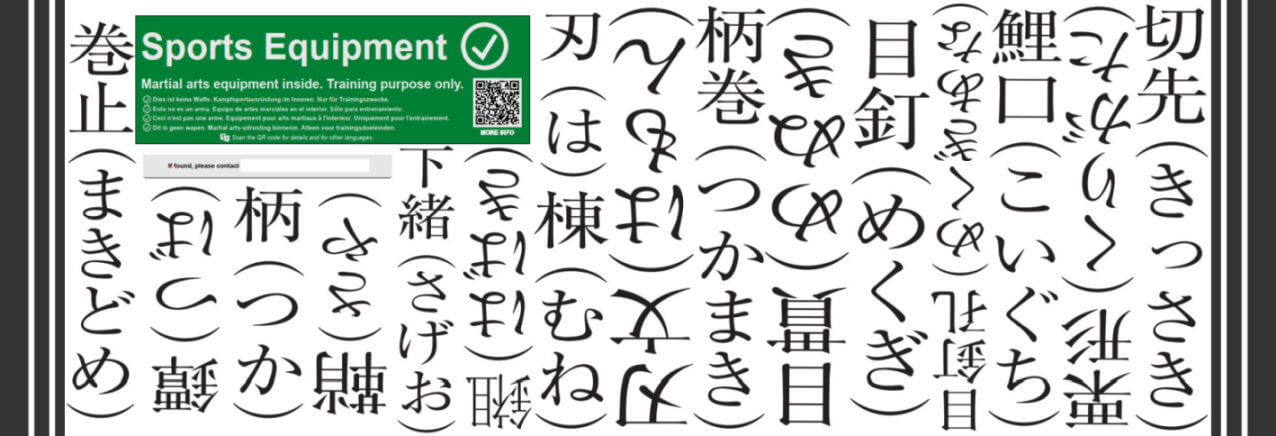
I didn’t want to carry a gray drain pipe around, so I designed a sticker and had it printed online. It cost more than all the materials put together, but that didn’t matter. By a lucky coincidence, I had recently received a Iaito from Tozando in the mail. A sticker on the package was a good template for a multilingual information text. A QR code also links to a Tozando page that provides more languages and explains that the contents are not a real weapon. The Japanese terms are all terms related to the Iaito. In Kanji and in brackets in Hiragana.
If anyone would like the template, that’s fine. Just send me a quick email (see contact) and I’ll be happy to send it to you. The spelling mistake has now been corrected.
Information about traveling by plane with a Iaito
I would like to briefly describe my experiences during my (so far only) flight with a Iaito.
- I registered the Iaito as sports equipment. On the day of departure, the staff at the check-in counter told me that I should have registered it differently, but my previous attempts to do so by email via the airline’s customer service had been in vain. I was only given the important information that I was not allowed to take the Iaito with me as hand luggage. Bravo.
- At the oversized baggage check-in at the German airport, the federal police were informed. The officer unpacked the Iaito (“I’ve always wanted to hold something like this in my hands”) and I had to prove that I was actually flying to a training course. I simply showed him the course description. Then everything was OK. In any case, please plan to allow more time for these things.
- If I had been refused permission to take it with me, I had the following contingency plans in mind
- Quickly go to the nearest post office/DHL branch and send the Iaito back home.
- Entrust it to a trustworthy stranger for safekeeping or to send it home.
- Before my return flight (Spain), I asked the police at the airport: no problem. There were no checks or questions at the oversized baggage counter either. But here too, I would allow extra time just to be on the safe side.
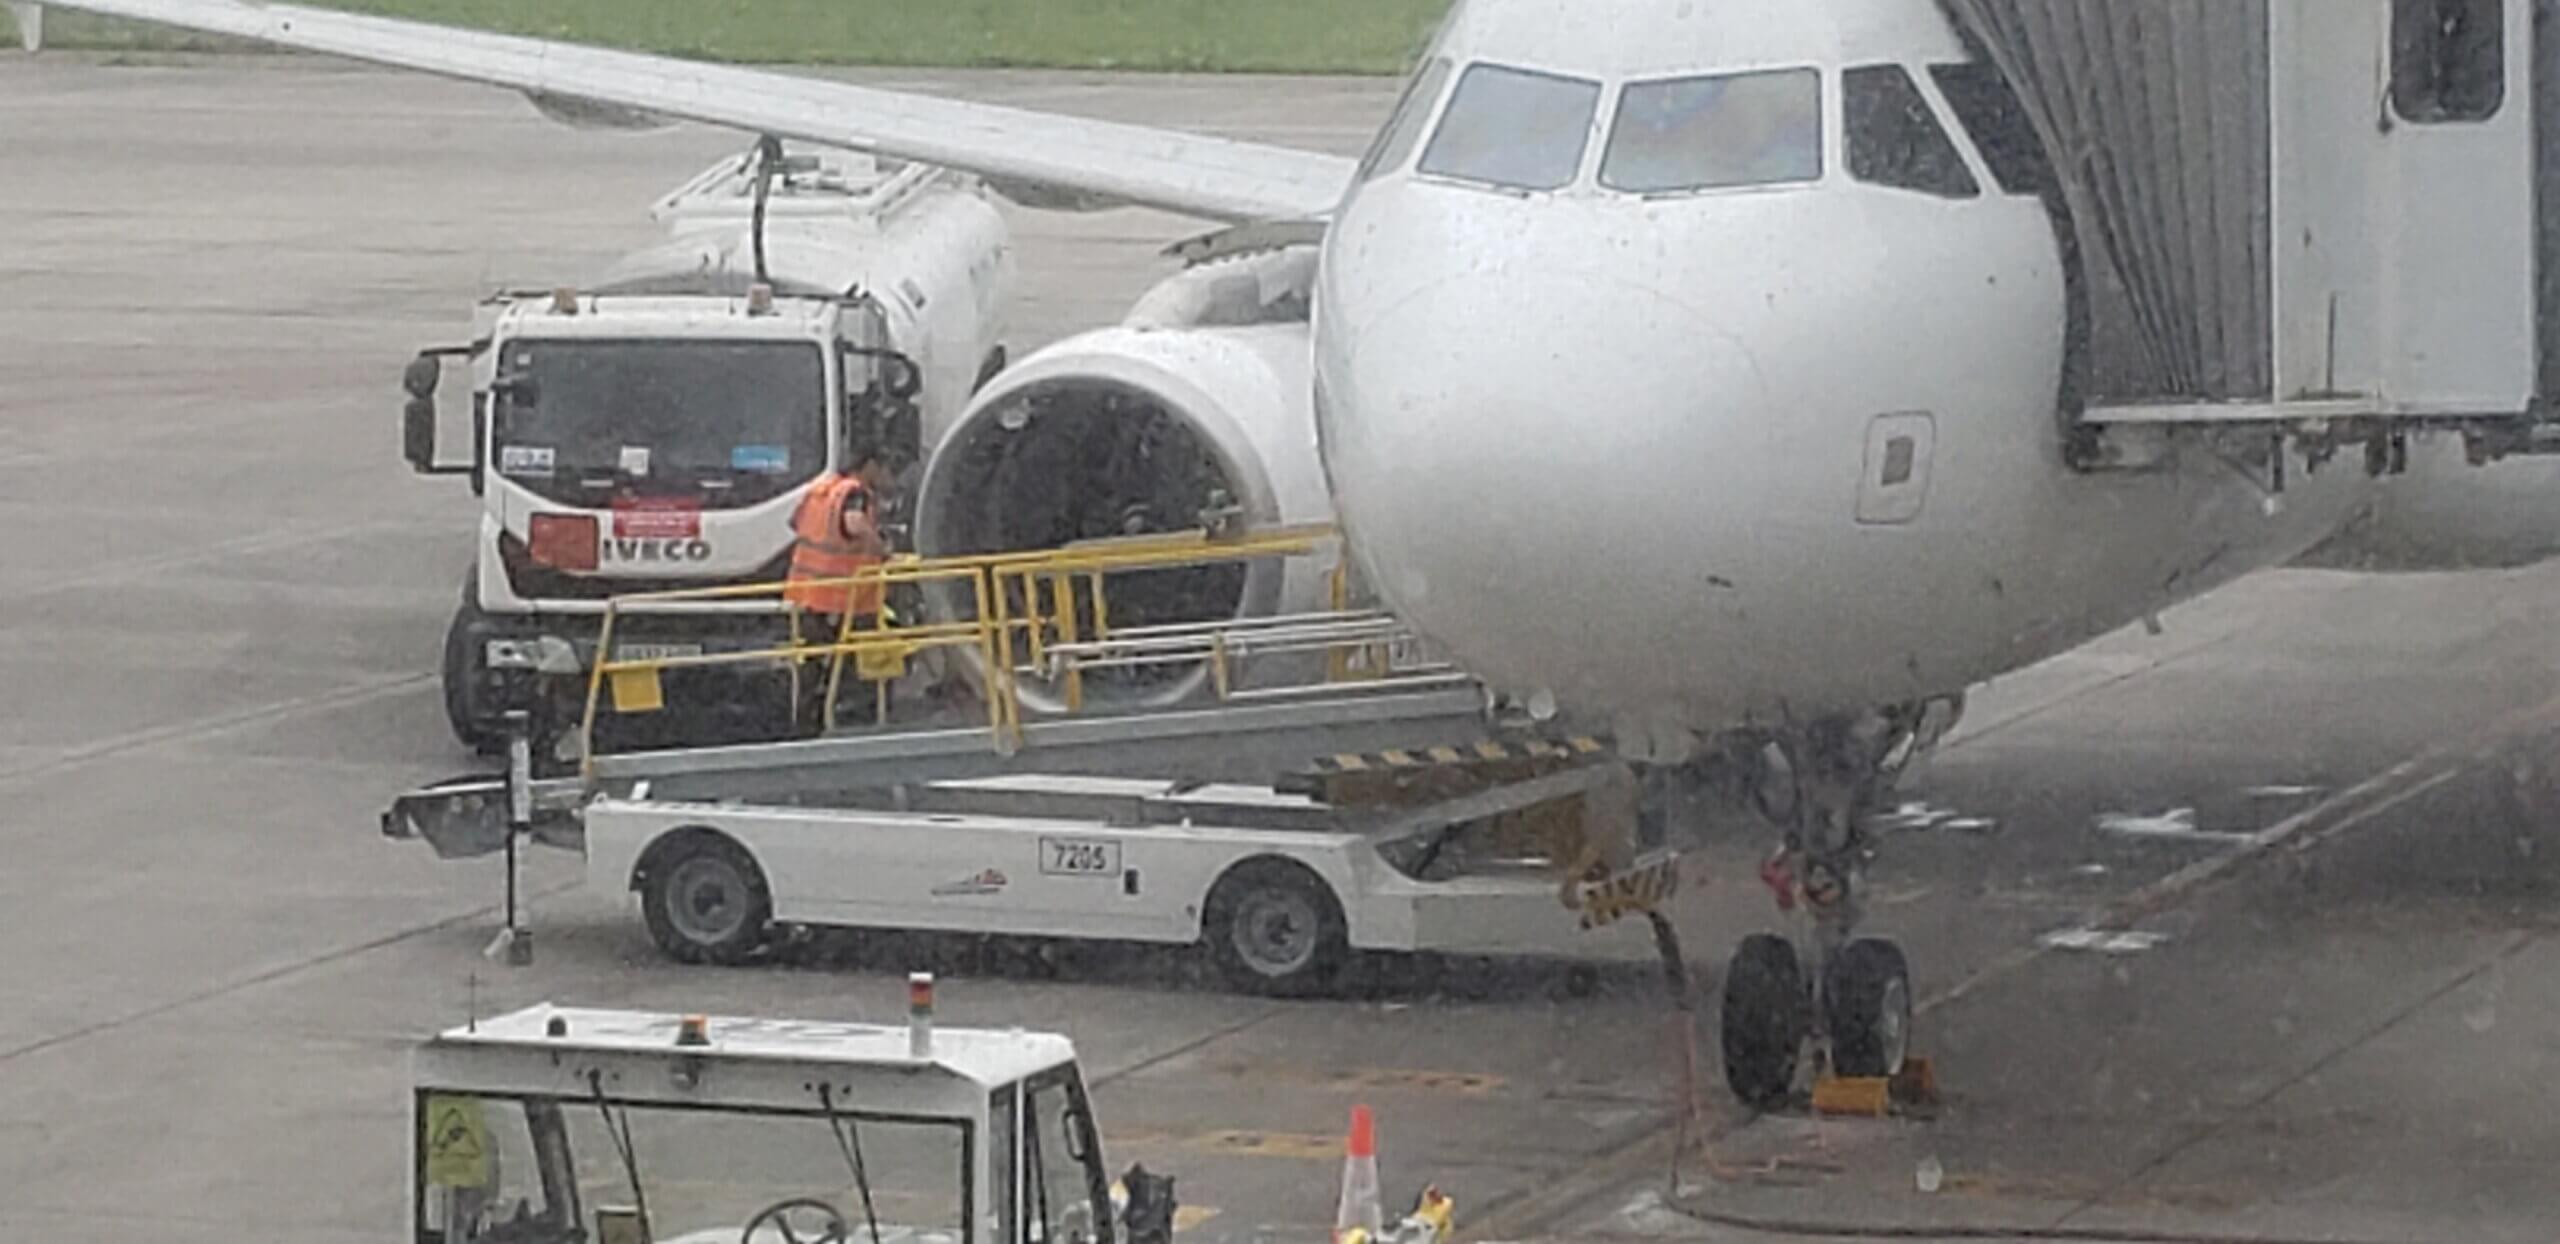
I had a moment of panic at the gate, from where you could watch the plane being loaded. The Iaito travel case, easily recognizable from a distance, was placed last (!) on the baggage conveyor belt by an airport employee, along with all the suitcases that were going to disappear into the plane. Then he picked it up again and placed the case next to (!) the conveyor belt. It stood there for a few minutes. Then he put it back on the belt and it was loaded. I had the impression that the pilots were asked if they agreed to take it.
Any questions?
Just get in touch via the contact page if you have any questions, otherwise have fun building or improving it. I would also appreciate any further feedback and build reports.